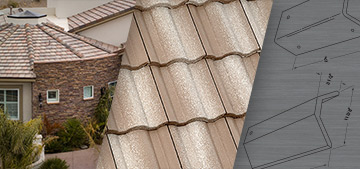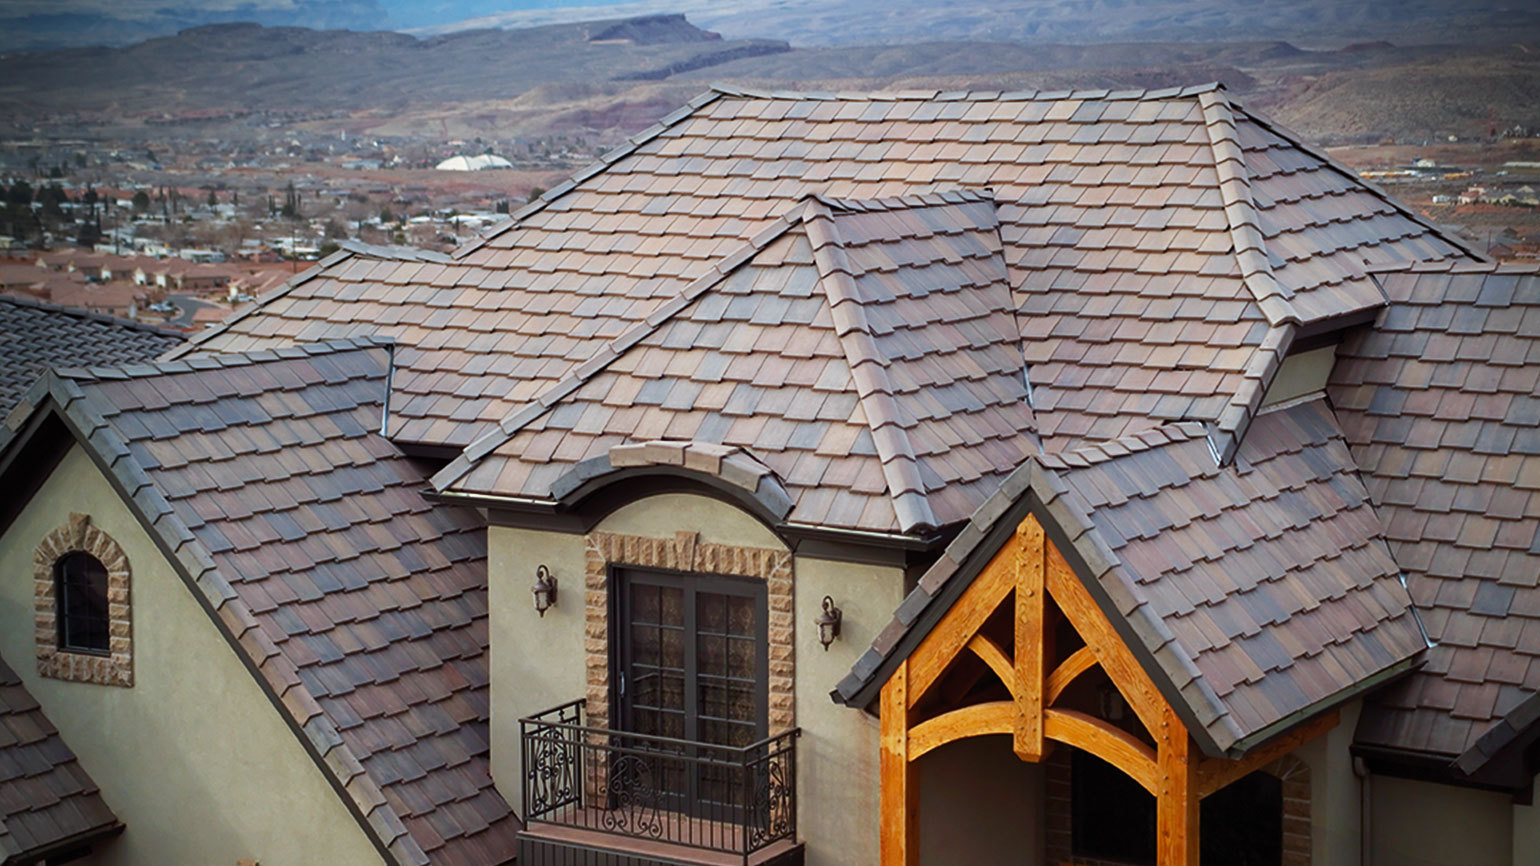
Eagle Roof Tile is often the perfect complement to houses with distinctive architectural features. One such feature that is seen on both historical homes and, more and more, on new custom homes is the turret. Turrets are conical roofs that provide a uniquely elegant flare to homes of distinction. They can also provide a uniquely daunting challenge to anyone trying to install roofing. While roofing a turret requires extra effort, there are some steps that can make it less intimidating to tackle.
 Step 1: Be Safe- In many cases, turret roofs tend to be steeper and higher than average. It is vitally important to protect yourself using accepted safety equipment (i.e. harnesses, toe-boards, scaffolding). These measures will protect you and, in the case of scaffolding, can actually make the job a little easier.
Step 2: Do the Math- A turret is basically a cone with a circle at its base. There are a few measurements that you will need, to get started. First, find the circumference of the circle, either by measuring around the eave of the turret (if possible) or by measuring the diameter of the circle and multiplying by 3.14. Then you divide that number by the exposed width of the tile. That will tell you how many tiles you will need for each course. Dividing the rafter length by the exposed length of the tile will tell you how many courses you will need.
Step 3: Make a template- Think of a turret or cone as a collection of equal triangles. Once you have the measurements for one triangle, you need only repeat. To make cutting your tiles easier, make a template from plywood, OSB or cardboard. Lay your chosen template material on the ground, measure out and mark the rafter length and snap a straight line. At one end of your new line (the bottom) measure half of the tile width to either side of the line and mark. Then snap two lines from the top to the two new marks. You will end up with a triangle that will guide you in making your cuts.
Step 4: Cut your tile- Using your template you can make the cuts for each course of the triangle. You will then repeat those cuts for the number of triangles in the cone. You already have this number from when you divided the circumference by the exposed width of a tile. The best part is that all cuts can be made on the ground before you install. You will also want make sure to drill nail holes in the tiles since you will be removing so much of the top of each tile.
Step 5: Snap lines- The last step before installing the tile is to snap guide lines. Use half the exposed width of the first course tile and make marks, repeating that measurement around the entire eave. Then you can secure a chalk line at the top of the cone and work your way around, snapping lines. These lines will allow you to center each tile as you install.
Step 6: Install the roof- Installation will require a large number of fasteners, so a self-sealing underlayment would be best. Now that you have done all of the prep work, you can install the tiles using mechanical fasteners.
At Eagle we are excited to bring you simple elegant solutions. We want to help you create projects of distinction that stand out from the rest. If you have any questions regarding this or any other exclusive look or if you have any other questions, please contact us.